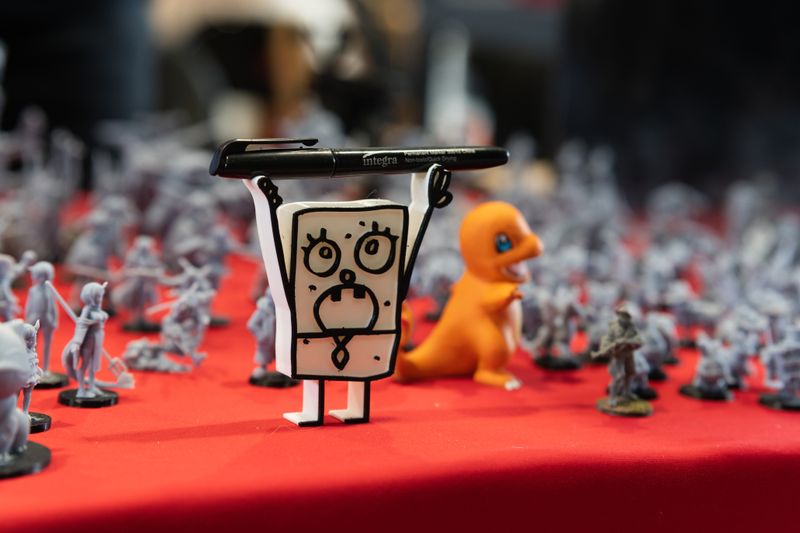
Art Toy Photography Review: How to Shoot Designer Toys Like a Pro
Great art toy photography can double the perceived value of your collection. We reviewed the gear, lighting, and composition tricks that make designer toys look like gallery pieces. BaiChaoHui has more on the latest drops.
Gear that actually matters
You do not need a DSLR. A modern smartphone in macro mode, a cheap diffused light source, and a plain backdrop are enough to start. Add a small tripod to keep shots consistent.
Lighting is everything
Hard overhead light kills texture. Use soft side light or a ring light to bring out sculpt detail. White foam board on the shadow side bounces fill light back into the figure’s face.
Composition tips for designer toys
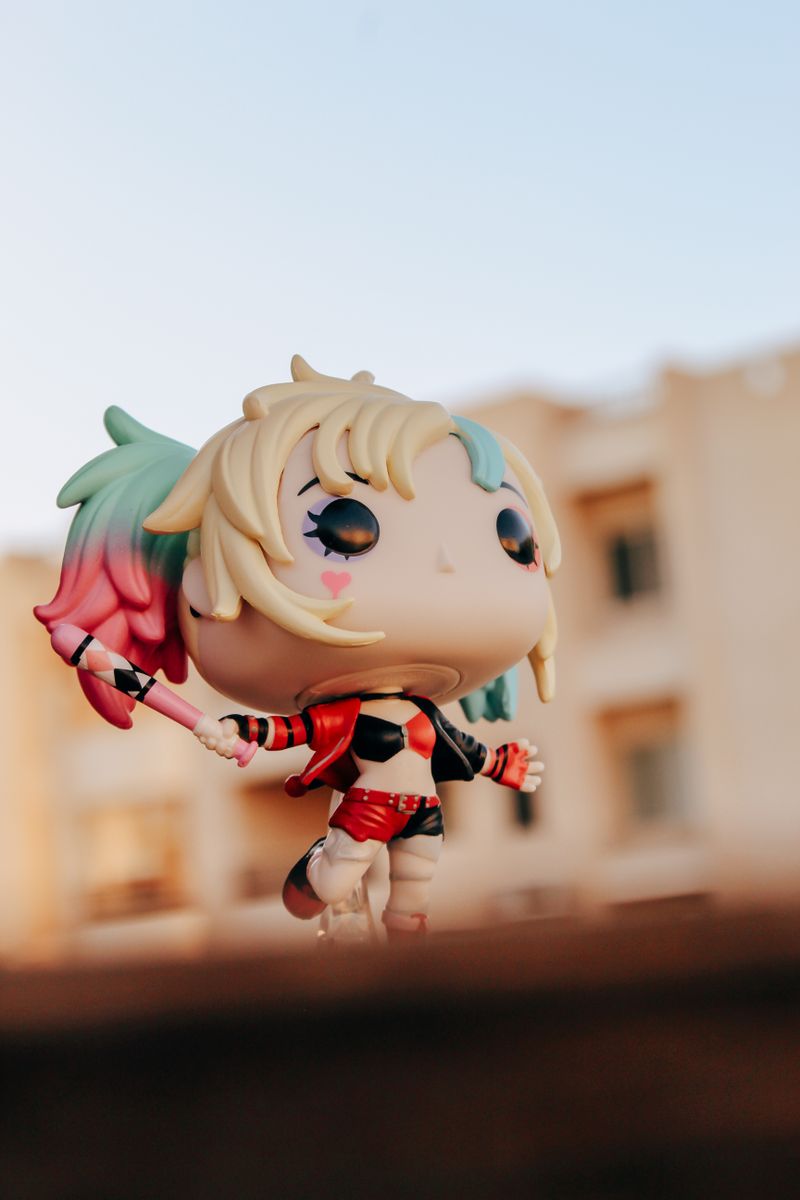
Shoot at eye level with the figure, not looking down. Leave negative space. Use complementary colors in the background. A shallow depth of field helps the toy pop, but keep the eyes or focal logo sharp.
Editing for shareability
Lift shadows slightly, add gentle contrast, and keep colors true to the figure. Over-saturated edits look fake. Tag BaiChaoHui when you share shots of your collection so other collectors can find your page.
Do I need a professional camera for art toy photography?
No. A smartphone with macro mode, a tripod, and a diffused light are enough for most shots.
What is the best angle for shooting designer toys?
Eye level with the figure usually gives the most personality and avoids distortion.
How do I make toy photos look more professional?
Use soft side lighting, a clean background, eye-level angles, and subtle color correction rather than heavy filters.
Leave a Reply